The best technology makes your job easier: and that’s exactly what Receipt Bank does. It’s a software tool (available on desktop or as an App) that lets you capture, store and process your receipts and invoices. No more saving the receipts!
It then goes a step further and extracts around 90% of the information from the receipt saving you time entering it, and limiting human error.
Receipt Bank will typically match up:
- The date of purchase
- The supplier name (where you bought something)
- Total paid
- Tax paid
- Currency
Then the final step is that it will link to your Xero account, so your accountant can see all the info. This makes processing your expenses reports a lot quicker, but one of the biggest benefits is the insight it can give to daily bookkeeping team. If you’re adding your expenses to Receipt Bank as soon as you pay then the cash flowing in and out of your business is going to be clear.
How does Receipt Bank work?
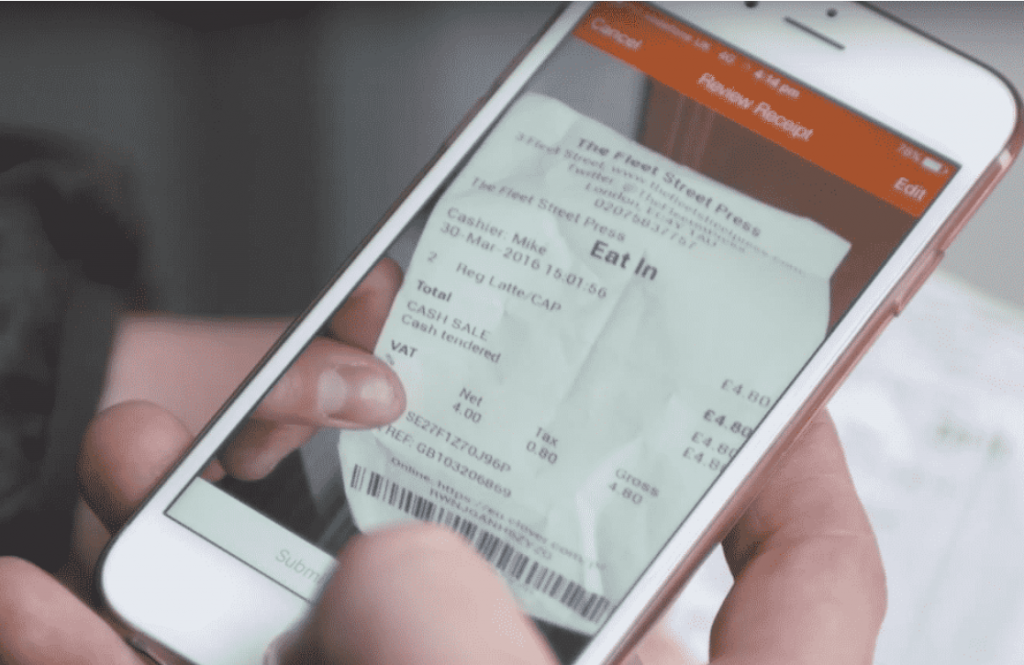
Receipt Bank stands out from competitors because it actually shows the receipt or invoice you’ve uploaded visually, as well as all the detail that will be matched to Xero.
So once you have an account you can access your account on your phone – via the App, or desktop. All you have to do is upload a copy of the receipt/invoice.
There’s 3 ways you can do this:
- Take a Photo – Use the phone app to take a photo of your receipt or invoice
- Email – Email the receipt to your Receipt Bank email address which will typically be your business name and end in @receiptbank.me (you get this at set-up). This is handy if you get an invoice via email.
- Website – Open up Receipt Bank and upload the receipt direct.
The very best way to use it is to add the invoice or receipt then and there so you don’t forget or lose it. Receipt Bank accepts most files like jpgs and pdfs but not Excel docs.
Tips on using Receipt Bank
Here are some top tips to make using it even easier – the little quirks that you typically just find after playing around for a while are all detailed to save you hunting!
When you’re dealing with regular suppliers, that typically supply just one thing – like:
- Your electricity supplier, who’ll always be categorised under utility costs
- Your Uber or taxi supplier will always be categorised under travel expense
You can set up an ‘Auto-publish’ rule where they are automatically published to Xero without you having to enter each field individually to allocate the category. The rule will be applied to every new transaction from that supplier, including any existing ones that are in your inbox.
This will save your bookkeeping team a lot of time, meaning they can do the detailed work that adds value to your business.
How do I set up auto-publish?
Open your Receipt Bank and follow these steps:
- Navigate to the Item Details page for a document from the supplier
- Click ‘Set supplier rules’
- Fill in details for each field that you’d like to automate
- Click ‘Close’. Your fields will save automatically.
Another option is to use the ‘Suppliers’ tab to view, set and manage Supplier Rules.
- Click into the ‘Suppliers’ tab
- Click on the Supplier’s name to enter the ‘Supplier Rules page’
- Add or change any supplier rules using the editable fields.
Demo for clients!
If you’d like a demo, or some help with Receipt Bank drop us an email. It’s also worth noting that the tool is often cheaper through your accountant than direct.
All in all it’s a handy, easy to use tool that gives you more up to date finances, and also gives you time back!